
|
John Lyman was heavily influenced by Fauvist artists like Matisse, characterized by painterly qualities and strong colours. Lyman mixed these attributes with his mature style, which featured muted colours and softer brush strokes. While John Lyman’s work was initially rejected in Canada in 1913, he briefly returned in 1927 for a one-man show, which was more readily accepted, due to the public’s exposure to modern European art. John Lyman was an American born artist who worked largely out of Montreal. He played a key role in the development of modern art in Canada not only as an artist but also as a theorist and professor. In the Fall of 1909, he enrolled in the Académie Matisse, where he developed a devotion to pure colour, line, form and ‘non-artistic’ details. Unfortunately, he left the following Spring due to illness. Although his encounter with Matisse was short-lived, Matisse remained a major influence on Lyman’s work for the rest of his career. After returning to Montreal, he exhibited his works in two exhibitions, both were very poorly received, having been met with disdain by the conservative press. Due to the negative criticism and rejections of his works in Canada, Lyman, along with his wife, spent the next 28 years travelling across Europe (Spain & France) as well as Northern Africa. After his return to Canada, Lyman began to try and bring in more European ideas of modern art. He opened an academy style school of art which was supported by McGill University, however, due to low income the school was shut down after a year of operation. In 1936 Lyman began to write for the Montrealer, specifically a column focused on developments in Canadian art and their connection to international trends, which ran until 1942. He exhibited three more solo exhibitions between 1936-1939, including a solo exhibition in New York in 1937. In 1938 Lyman began bringing together artists, who wanted to move away from the influence of the Group of Seven and pave a newer modern art presence in Canada. That same year the group exhibited together as The Eastern Group of Painters. In 1939 the Contemporary Art Society was founded with Lyman as president. The intention being to "give support to contemporary trends in art and further the artistic interests of its members by any means at its disposal.". In 1948, Lyman felt the Contemporary Art Society was no longer needed to fulfill its original purpose and the group agreed to separate. The following year Lyman became an art professor at McGill University in Montréal and was appointed the director of the Fine Arts Department in 1952. John Lyman was born in Biddeford Maine in 1886 and later moved to Canada with his parents. He attended high school in Montreal and afterwards studied at McGill University. After two years he decided to leave his studies at McGill to study art in Paris in 1907. He returned home for a short time to study architecture at the Royal College of Art to appease his father but returned to Paris the following year to continue his art studies at the Académie Julian. In the Fall of 1909, he enrolled in the Académie Matisse, where he developed a devotion to pure colour, line, form and ‘non-artistic’ details. Unfortunately, he left the following Spring due to illness. Due to the negative criticism and rejections of his works in Canada, Lyman, along with his wife, spent the next 28 years travelling across Europe (Spain & France) as well as Northern Africa. In 1922 he purchased a home in Southern France at which time he kept in contact with Matisse. By 1931 he was forced to move back to Canada due to the impact of The Great Depression on his financial stability. In 1936 Lyman began to write for the Montrealer, specifically a column focused on developments in Canadian art and their connection to international trends, which ran until 1942. In 1939 the Contemporary Art Society was founded with Lyman as president. In 1949 Lyman became an art professor at McGill University in Montréal and was appointed the director of the Fine Arts Department in 1952. John Lyman died in 1967 at the age of 80 in Christ Church, Barbados. |
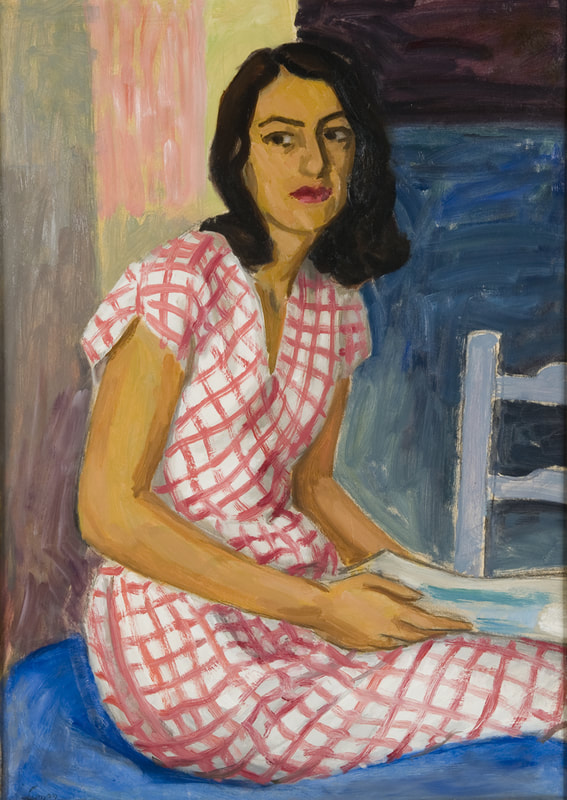
John Lyman (American/Canadian 1886-1967).
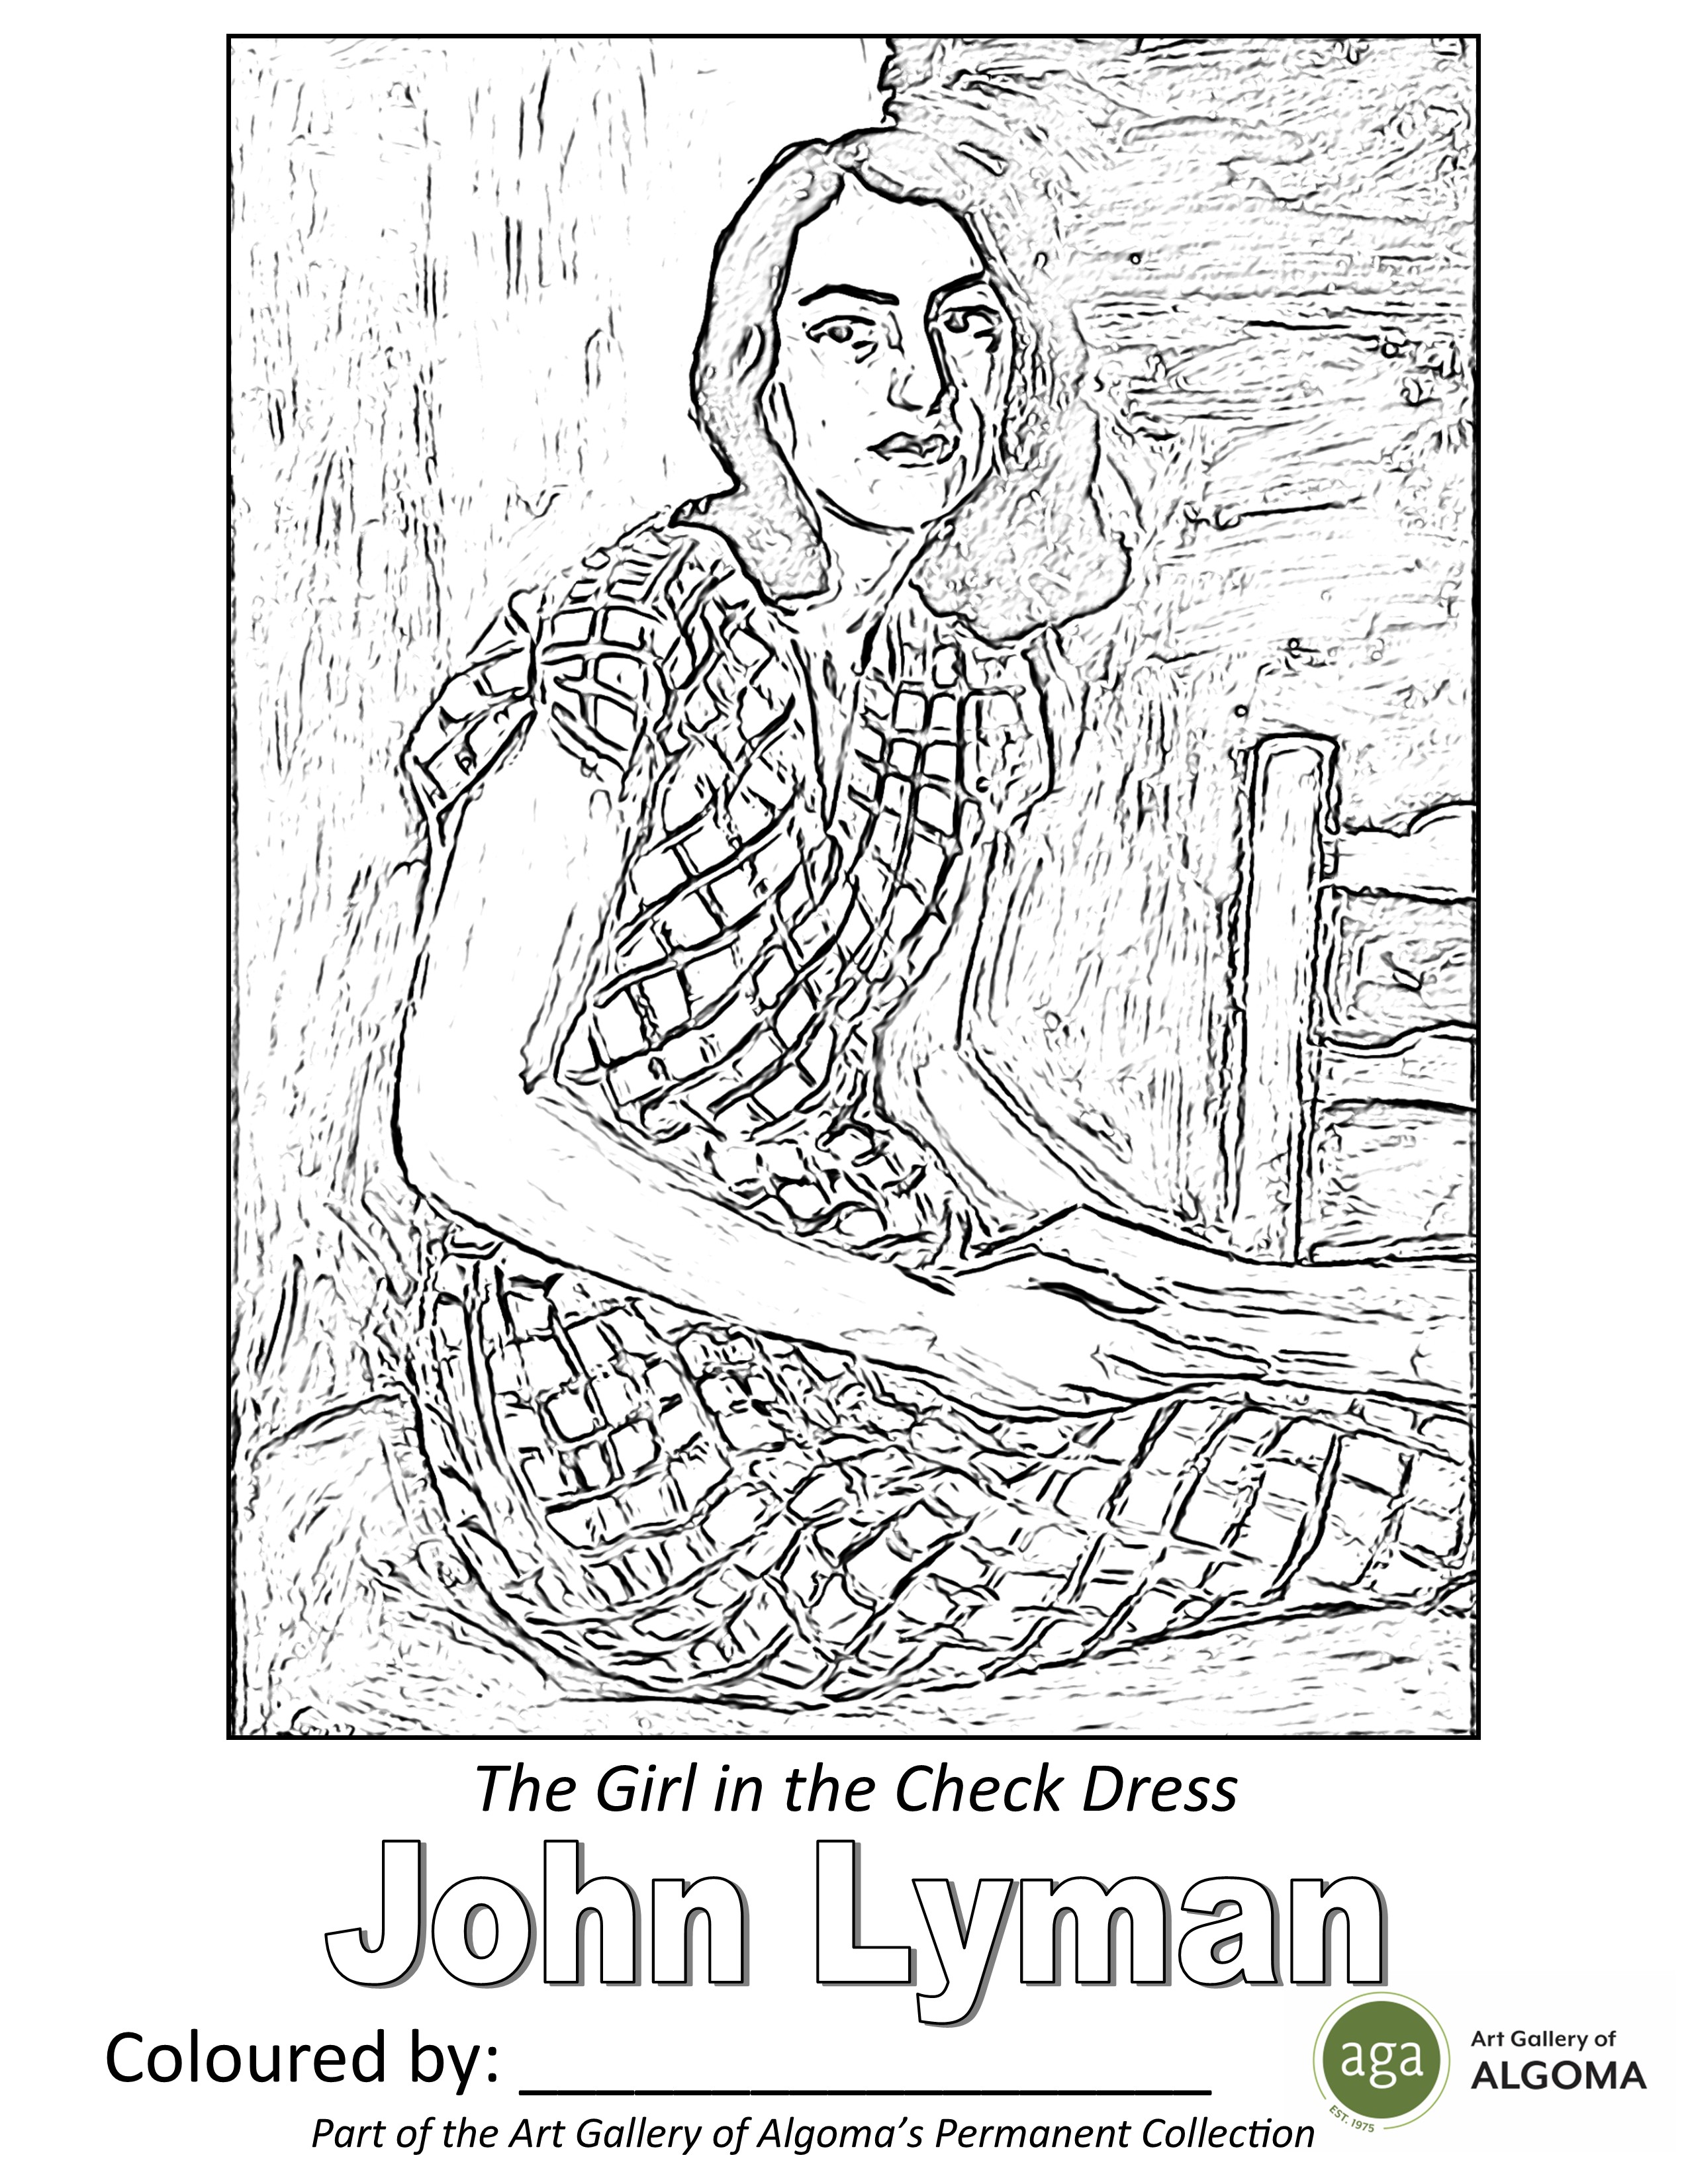
The Girl in the Check Dress, n.d.
Oil on Pressed Board.
Collection of the Art Gallery of Algoma.
Acquired with funds from the Walter and Duncan Gordon Foundation.
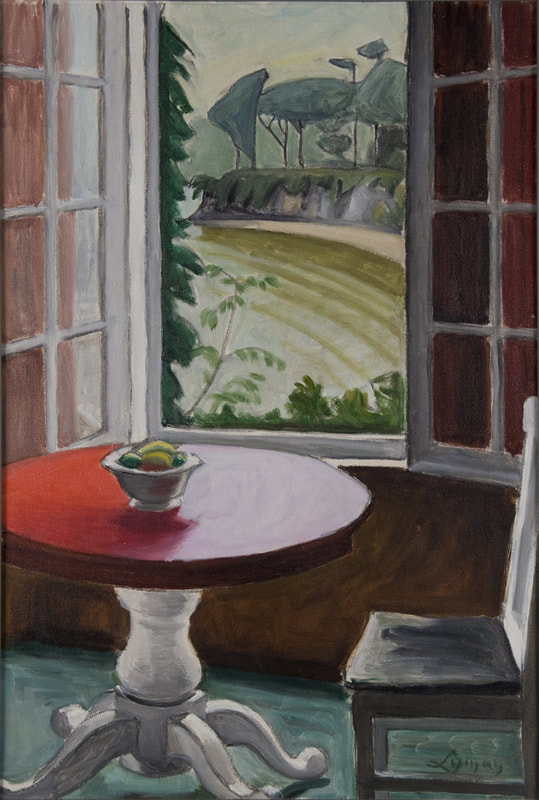
John Lyman (American/Canadian 1886-1967)
Window by the Lake, n.d.
Oil on Canvas.
Collection of the Art Gallery of Algoma.
Acquired with funds from the Ontario Ministry of Culture and Communication and Wintario.
|
GET INSPIRED
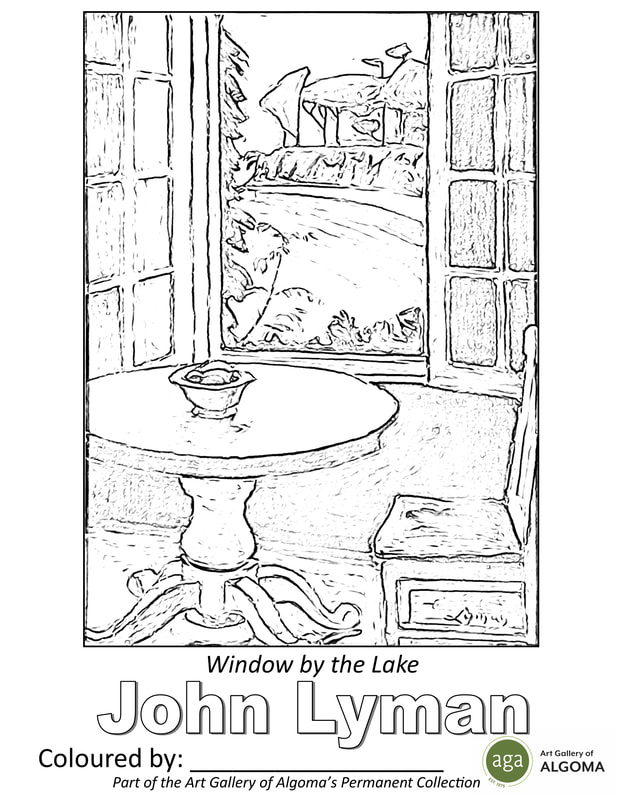
Colouring Sheets
Print off, colour in, and make it your own! Share your creations on our Art and Discovery Facebook event page.

|
| ||||
Get Inspired to Create Paper Portraits
Try this creative activity based on the artwork! Share your creations on our Art and Discovery Facebook event page.

John Lyman's Girl in Check Dress is one of many of his portrait works. Try your hand in creating a portrait of someone you know!
SUPPLIES
- Coloured paper (One sheet for the base and mixed colours for the face and features)
- Scissors
- Glue
- Pencil
- Yarn (optional)
- Markers, crayons, or pencil crayons (optional)
INSTRUCTIONS
1.Start by choosing who your going to use to make your portrait. Is it a self-portrait (a picture of yourself) or do you have someone you live with that you want to make a portrait of? Once you know it may be a good idea to make a quick drawing!
2.Now pick out a piece of paper that will be your background. If you want to make your background more than one colour you can use patterned paper or glue different shapes and designs cut from paper onto your background.
3.Once your background looks the way that you want it to look, pick out the colour you want to use for your persons face. Trace the persons face shape onto your paper or choose a shape from the examples. Make sure to add two small flaps to the side of your face.
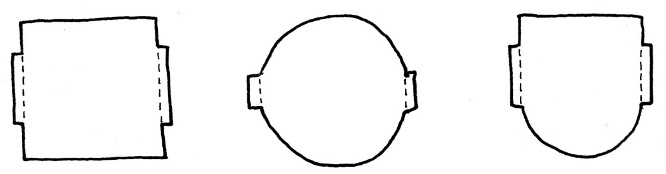
4. Cut out your face, with the flaps attached. Once cut out, fold the flaps away from the front of the face.
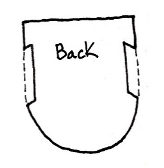
5. Glue the folded flaps on your face down to your background so that the front of the face is curved up. Hold, or tape the folded flaps until they are dry.

6. Use the same colour of paper to cut out a neck for your person. You can make it a simple rectangle, or you can try different shapes! Glue the neck down on the background so that it is under the face.

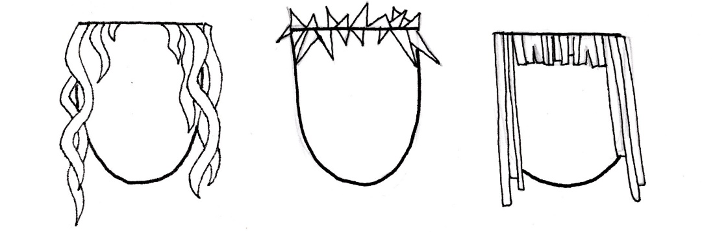
7. Using paper cut into strips or you can try pieces of yarn, give your portrait hair. If you are using paper you can cut different shapes for different hair styles, squiggles for curly hair, lines for long straight hair or maybe small triangles for short or spikey hair!
8. The most important part of making your portrait is the face! To make the face cut out eyes, nose, ear and mouth shapes from paper and glue them onto your face. Or you can draw them on using markers, pencil crayons, or crayons! Be creative and remember to think about the person your making. What colour are their eyes? What shape is their nose? Are they smiling?
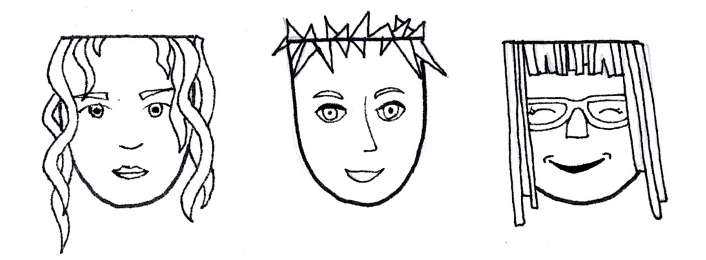
9. Next, you can add hats, glasses, or anything else that might make your portrait more fun!
Now you’re done! Admire your work and don't forget to share your artwork on our event page. We can't wait to see what you create!
Get Inspired to Make a Still Life Drawing
Try this creative activity based on the artwork! Share your creations on our Art and Discovery Facebook event page.

Try your hand at drawing a still life like John Lyman! Add your own still life into his artwork or try to make your own!
SUPPLIES
- Activity Print out or Paper
- Pencils
- Markers, pencil crayons, or crayons
INSTRUCTIONS
|
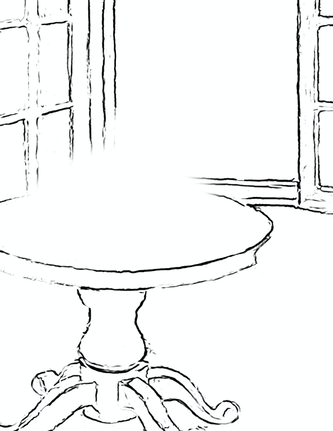
1. First you need to print off the Activity Print out (Table and Window Image) OR you can use a blank piece of paper and draw your own table and background, it’s up to you!
|
| ||
2. Now set up your still life using a bunch of items like cups, flowers, or fruit that you want to draw. Place them on a table in any order or pattern you like.
3. With a pencil you will start sketching your still life lightly. When you draw lightly with a pencil it’s easier to erase if you need to. When looking at the items you are drawing, try to think about the shape that makes up that item. Is the item made of circles or squares? Or is it made up of different shapes put together?
4. When you have your light sketch of the outline done, take a look at the lights and shadows on your items. Think about where the light is coming from and which direction the shadows are going. Which side of the items are light, and which are dark? Take your time to slowly add shading with your pencil to create shadows in your drawing. Take a look at John Lyman’s work Window by the Lake. You can see that the half of the table closest to the window is very bright (almost white), and the other half is darker red. You can also see that the shadow from the bowl of fruit faces away from the light coming through the window.
5. Take your time and make sure you are happy with your drawing. If you have a window in your picture don’t forget to add what you can see outside!
6. Once you’re done your drawing start to add colour. Make sure to colour in the whole picture not just the still life, and don’t forget your shadows! You may have to add darker colours or pencil to make sure you can still see the shading in your picture.
Now you’re done! Admire your work and don't forget to share your artwork on our event page. We can't wait to see what you create!