<
>
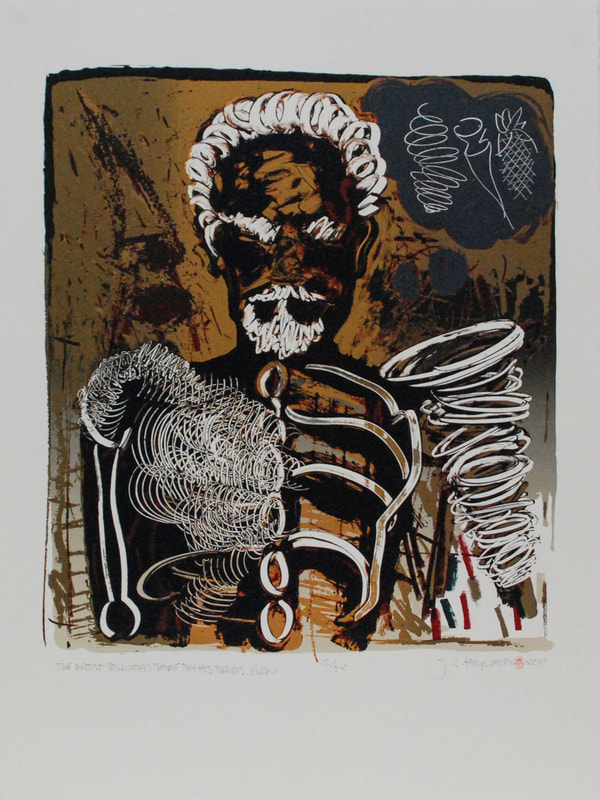
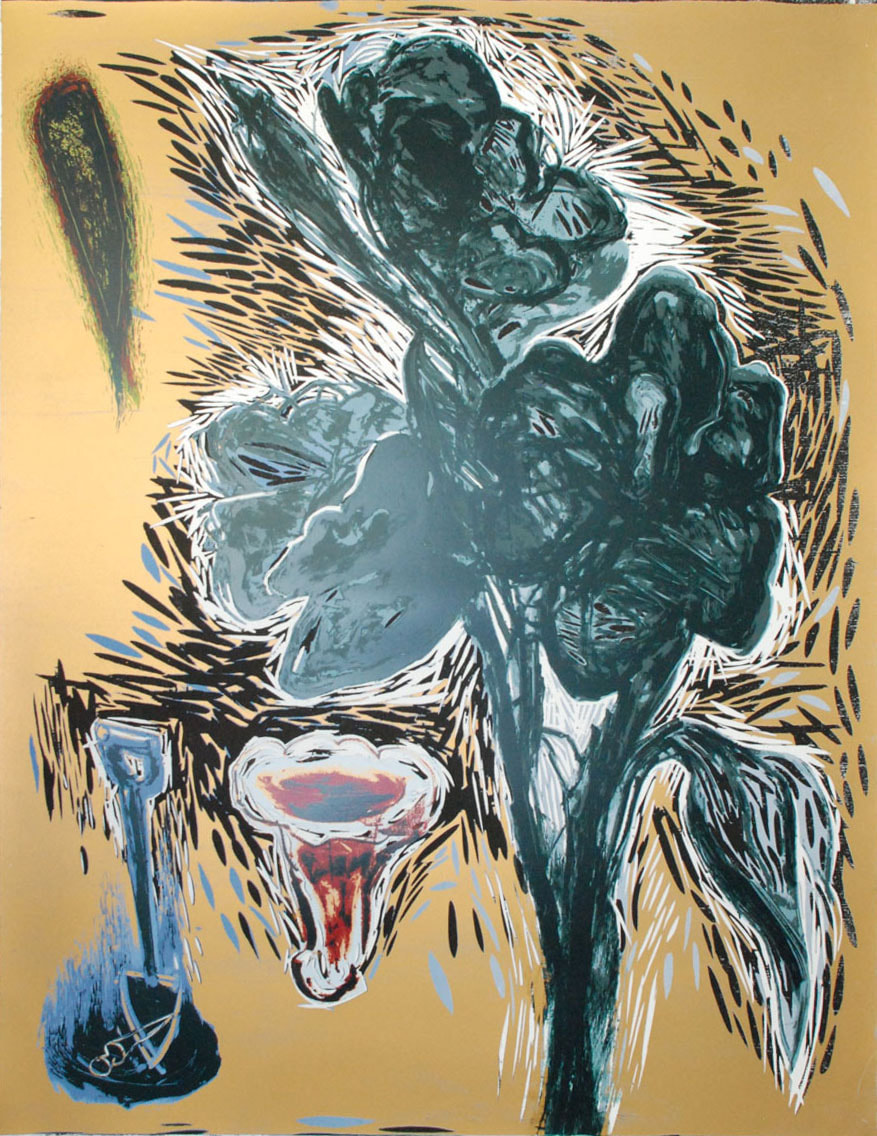
John Carl (J.C.) Heywood was born in Toronto, Ontario in 1941 and decided to pursue his interest in becoming an artist by studying at the Ontario College of Art (today the Ontario College of Art & Design University) from 1959 to 1963. Throughout his education, Heywood was trained in the classical skills of figural painting and drawing up until he discovered printmaking. Heywood would learn how mysterious and stimulating printmaking could be from his instructor Fred Hagan and fellow artist Michael Stewart would introduce him to new ways of finding freedom with colour through a technique called silk-screening. After graduating, Heywood spent four years in Toronto doing landscape paintings and teaching art at a high school but felt there was a creative spark missing and decided to travel to Paris where he hoped to gain new perspectives and inspiration. He found his way to Atelier 17, a legendary studio in Paris founded by renowned English painter Stanley William Hayter. From 1967 to 1969, Heywood gained the exciting opportunity to work with like minded printmakers from around the world and learn everything there was to know about the art of etching. Heywood met his wife Renate Laxgang and together they lived in Paris for another two years. When they returned to Canada, Heywood became a professor at Sheridan College in 1970 which helped him to restore an enjoyment for teaching art. From that point forward he would go on to teach at a number of universities, travel to artist residencies abroad, and exhibit worldwide. Heywood has presented his prints in numerous solo shows across Canada and participated in many international graphics exhibitions. Today, J.C. Heywood currently lives and works in Montreal. J.C Heywood trained as an artist at the Ontario college of Art, where he worked predominantly in classical painting, however throughout his studies he was introduced to printmaking, specifically silk-screen. Heywood had found freedom from the process and knew it was the medium for him. After teaching for some time, Heywood travelled to Paris where he trained further in the etching process among like minded printmakers from across the world. In his printmaking practice Heywood was interested in reinventing how prints looked. He printed in a variety of techniques including silk-screen, lithography and etching and often combined them to experiment with various outcomes. Often spending much of his time in the proofing process he would experiment and compare various techniques and materials, eventually taking all of that learning and experience and translating it into his final works. Heywood believed that printmaking gave his freedom in his work and control of his colours, as selecting colour came from continuous experimentation. He also explained that printmaking ink gave him the most variety and adaptability as they could transform to give different end results, such as the softness and translucency of watercolour or the rich opaqueness of oil paint. |
|
|
|
GET INSPIRED
Get Inspired by Stencils
Try this creative activity based on the artwork!
J C Haywood experimented with printmaking and a process called silk screen printing, a method of printmaking that involves pushing ink through mesh that has a pattern blocked by a stencil. For this activity we are going to use stencils to create vibrant and expressive artworks!
SUPPLIES
- Heavy paper - one sheet for your finished work and some to draw or print your stencil(s) on
- Scissors
- Paint
- Sponges or Paint brushes
- Tape
INSTRUCTIONS
- Start with your background. Take the piece of paper that you will be creating your artwork on and paint the whole page a solid colour. Wait for it to dry completely.
- While your background dires, print or draw out a stencil on paper. Using your scissors, very carefully cut it out (Kids - have an adult help you with this step!). Make more than one stencil to experiment with layering different shapes on top of eachother! If you have a complicated stencil you may have to cut from the edge of the paper to start cutting out your stencil but you will want to minimize how many cuts you make so that your stencil stays together, when you are done cutting use a piece of tape to tape your stencil back together. To make symmetrical shapes, fold your paper and cut on the fold.
- Once your stencil or stencils are finished and your background is completely dry, place your stencil where you would like it. Once it’s in place, tape it down so it won’t shift while you’re painting.
- Now fill in your stencil. Use your sponges to dab the paint to get a print like effect, or experiment with bold brush strokes and colour.
- When you’re done filling it in, carefully peel the stencil off and let it dry. After this step is complete, you can repeat the previous steps to layer different shapes and colours!
Don’t forget, there are no mistakes in art! Be bold and have fun!
|
|
Share your inspired work with us!
Send us an e-mail with your name, photo of your work and the activity it was inspired by and it could be posted on our website!
Please be aware that whatever is posted is widely accessible. The AGA is not responsible for the copyright and has no control of what people will do with the posts.
Please send you submission to: [email protected]
Please be aware that whatever is posted is widely accessible. The AGA is not responsible for the copyright and has no control of what people will do with the posts.
Please send you submission to: [email protected]


